Introduction
In the realm of electrical systems, replacing a faulty breaker is a task that may seem daunting to many. However, with the right knowledge and precautions, it can be a manageable DIY project. Safety should always be the top priority when dealing with electrical components. In this guide, we’ll walk you through the process of replacing electrical breakers while emphasizing the importance of caution. If you ever feel nervous or unsure, it’s crucial to call the professionals at Others Electric Inc for expert assistance.
- Understanding the Basics:
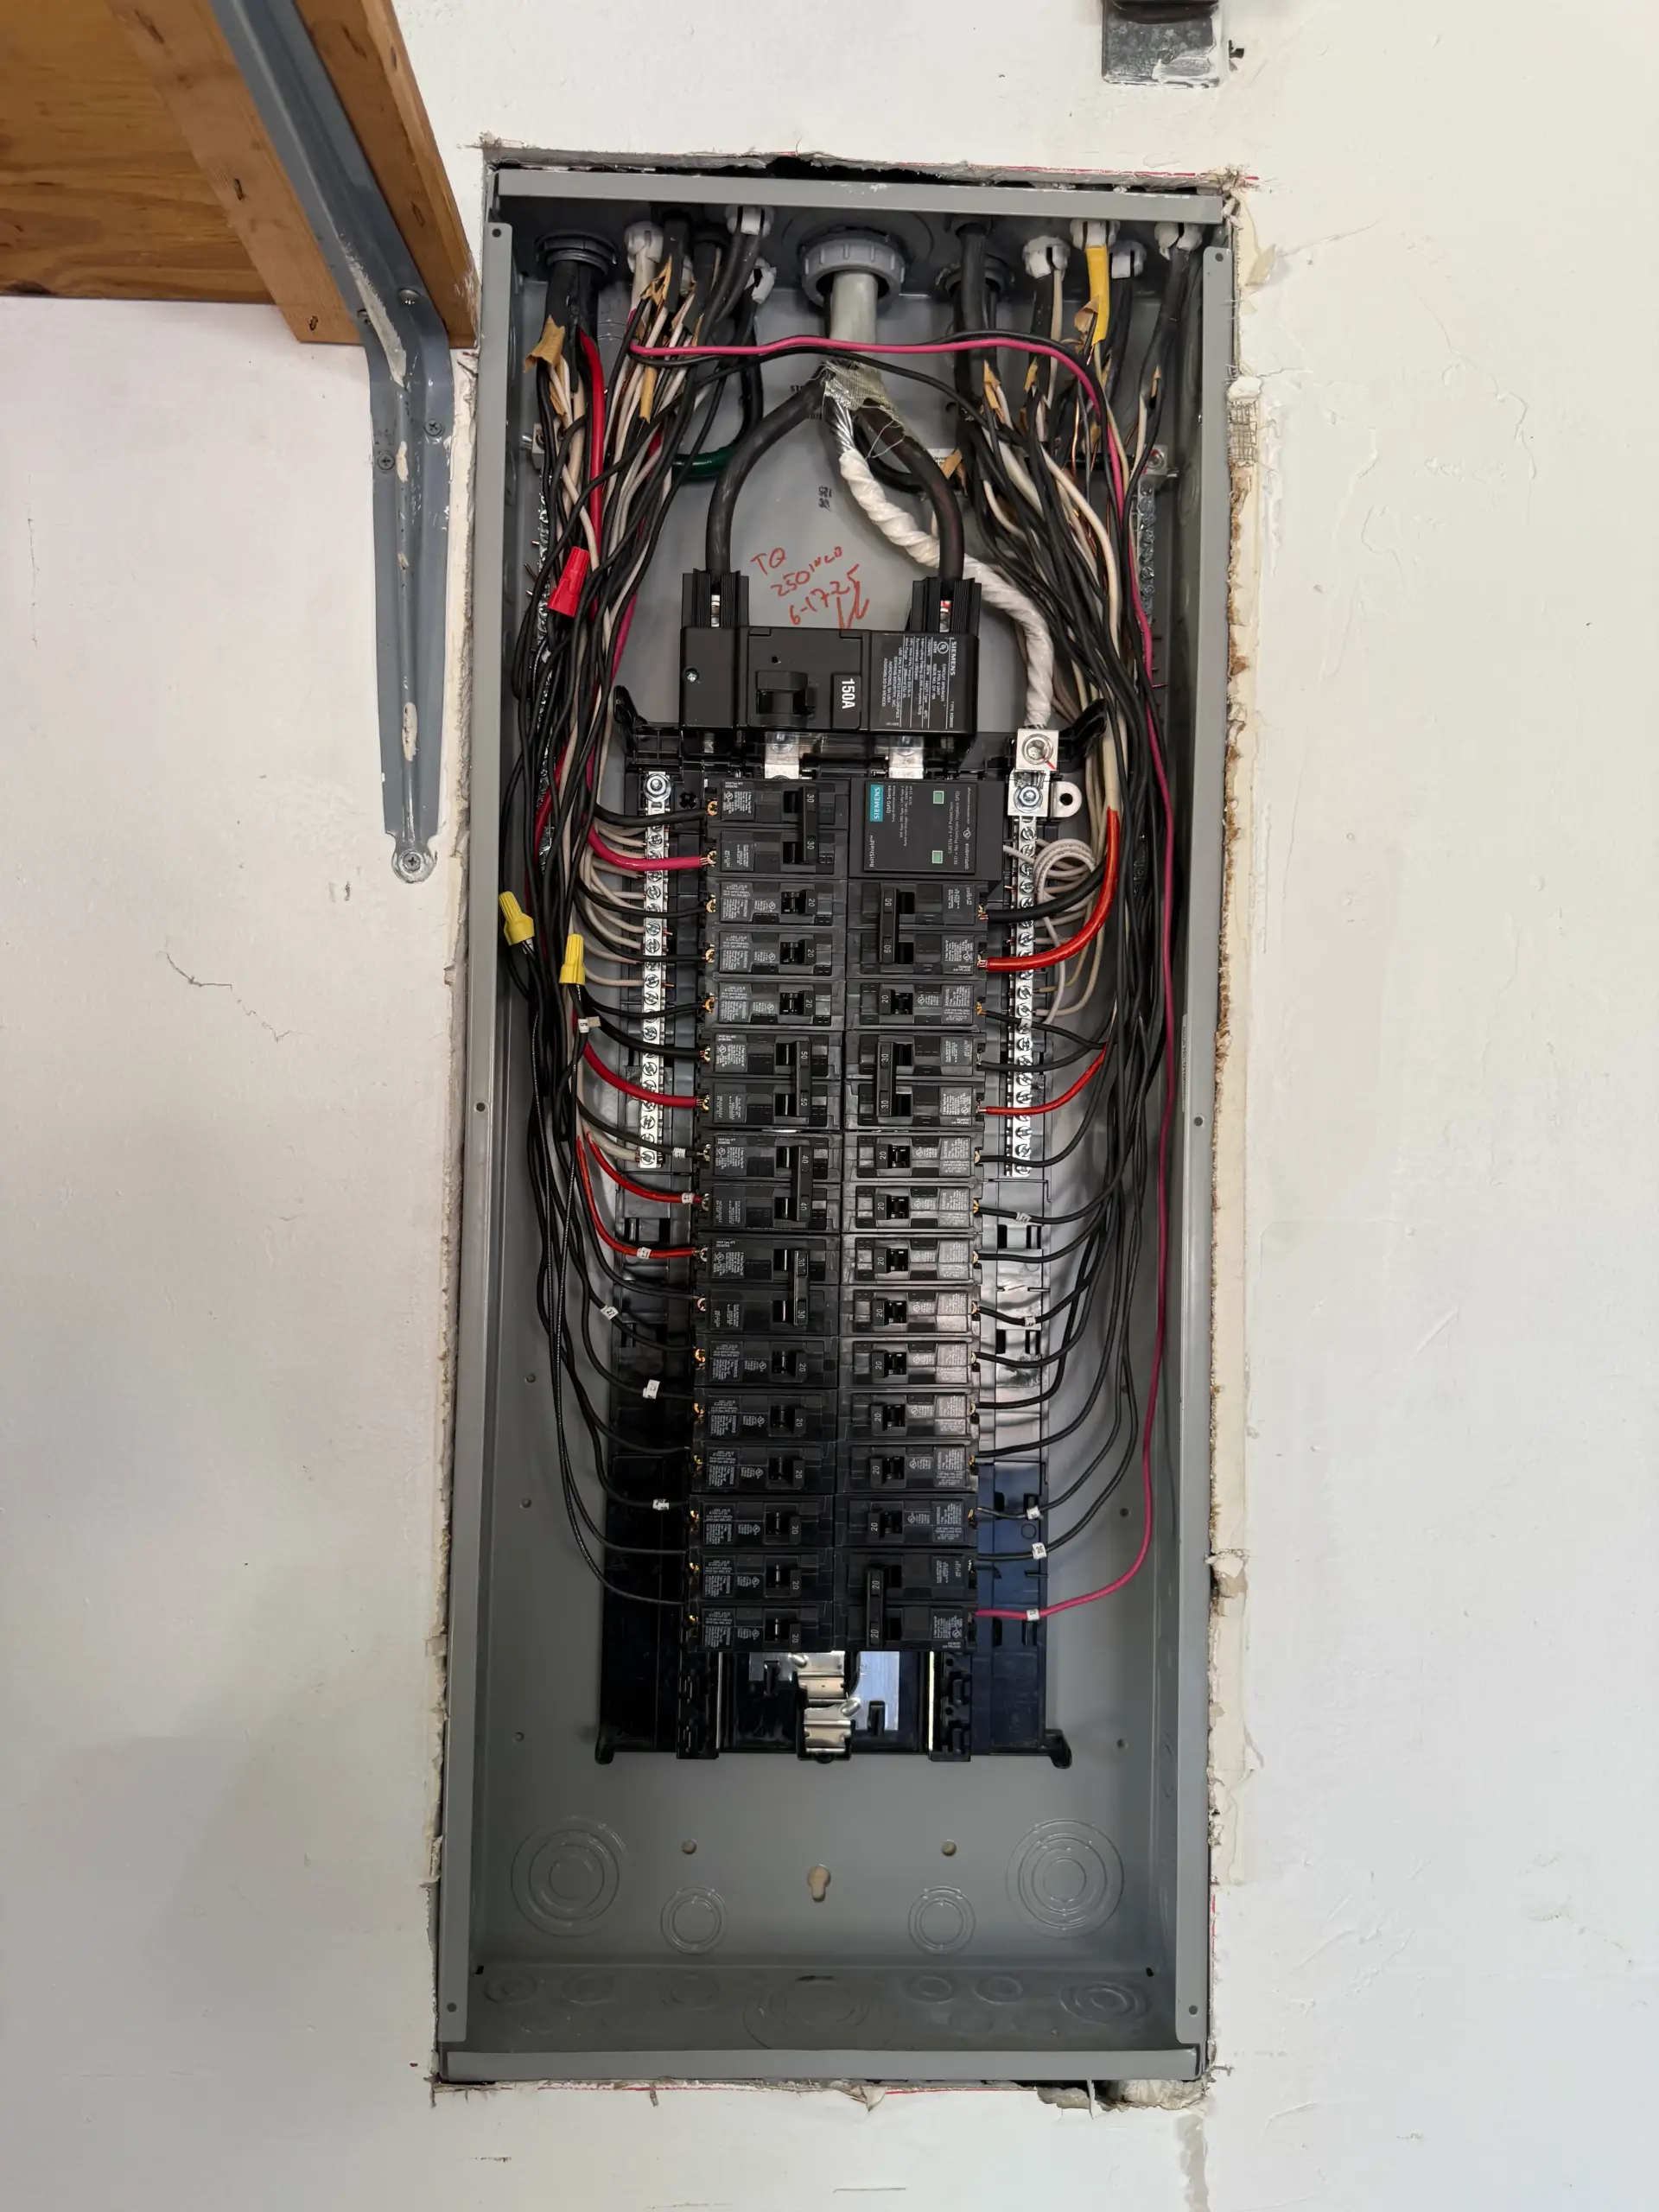
Before diving into the replacement process, it’s essential to have a fundamental understanding of your electrical panel’s layout. Familiarize yourself with the breaker box and identify the breaker that needs replacement. Always remember to turn off the main power switch to ensure your safety. - Gathering the Necessary Tools:
Make sure you have the right tools for the job. A screwdriver, pliers, voltage tester, and a new breaker of the same size and type are typically required. Using the wrong tools can lead to accidents, so ensure you have the correct equipment before starting the replacement. - Safety First:
Wearing appropriate safety gear, such as insulated gloves and safety glasses, is crucial during the entire process. Never attempt to replace a breaker without ensuring the power is off, and always use insulated tools to avoid electrical shocks. - Identifying the Faulty Breaker:
Use a voltage tester to confirm that the breaker you’re replacing is indeed faulty. This step adds an extra layer of safety by ensuring there is no electrical current running through the breaker you’re working on. - Removing the Old Breaker:
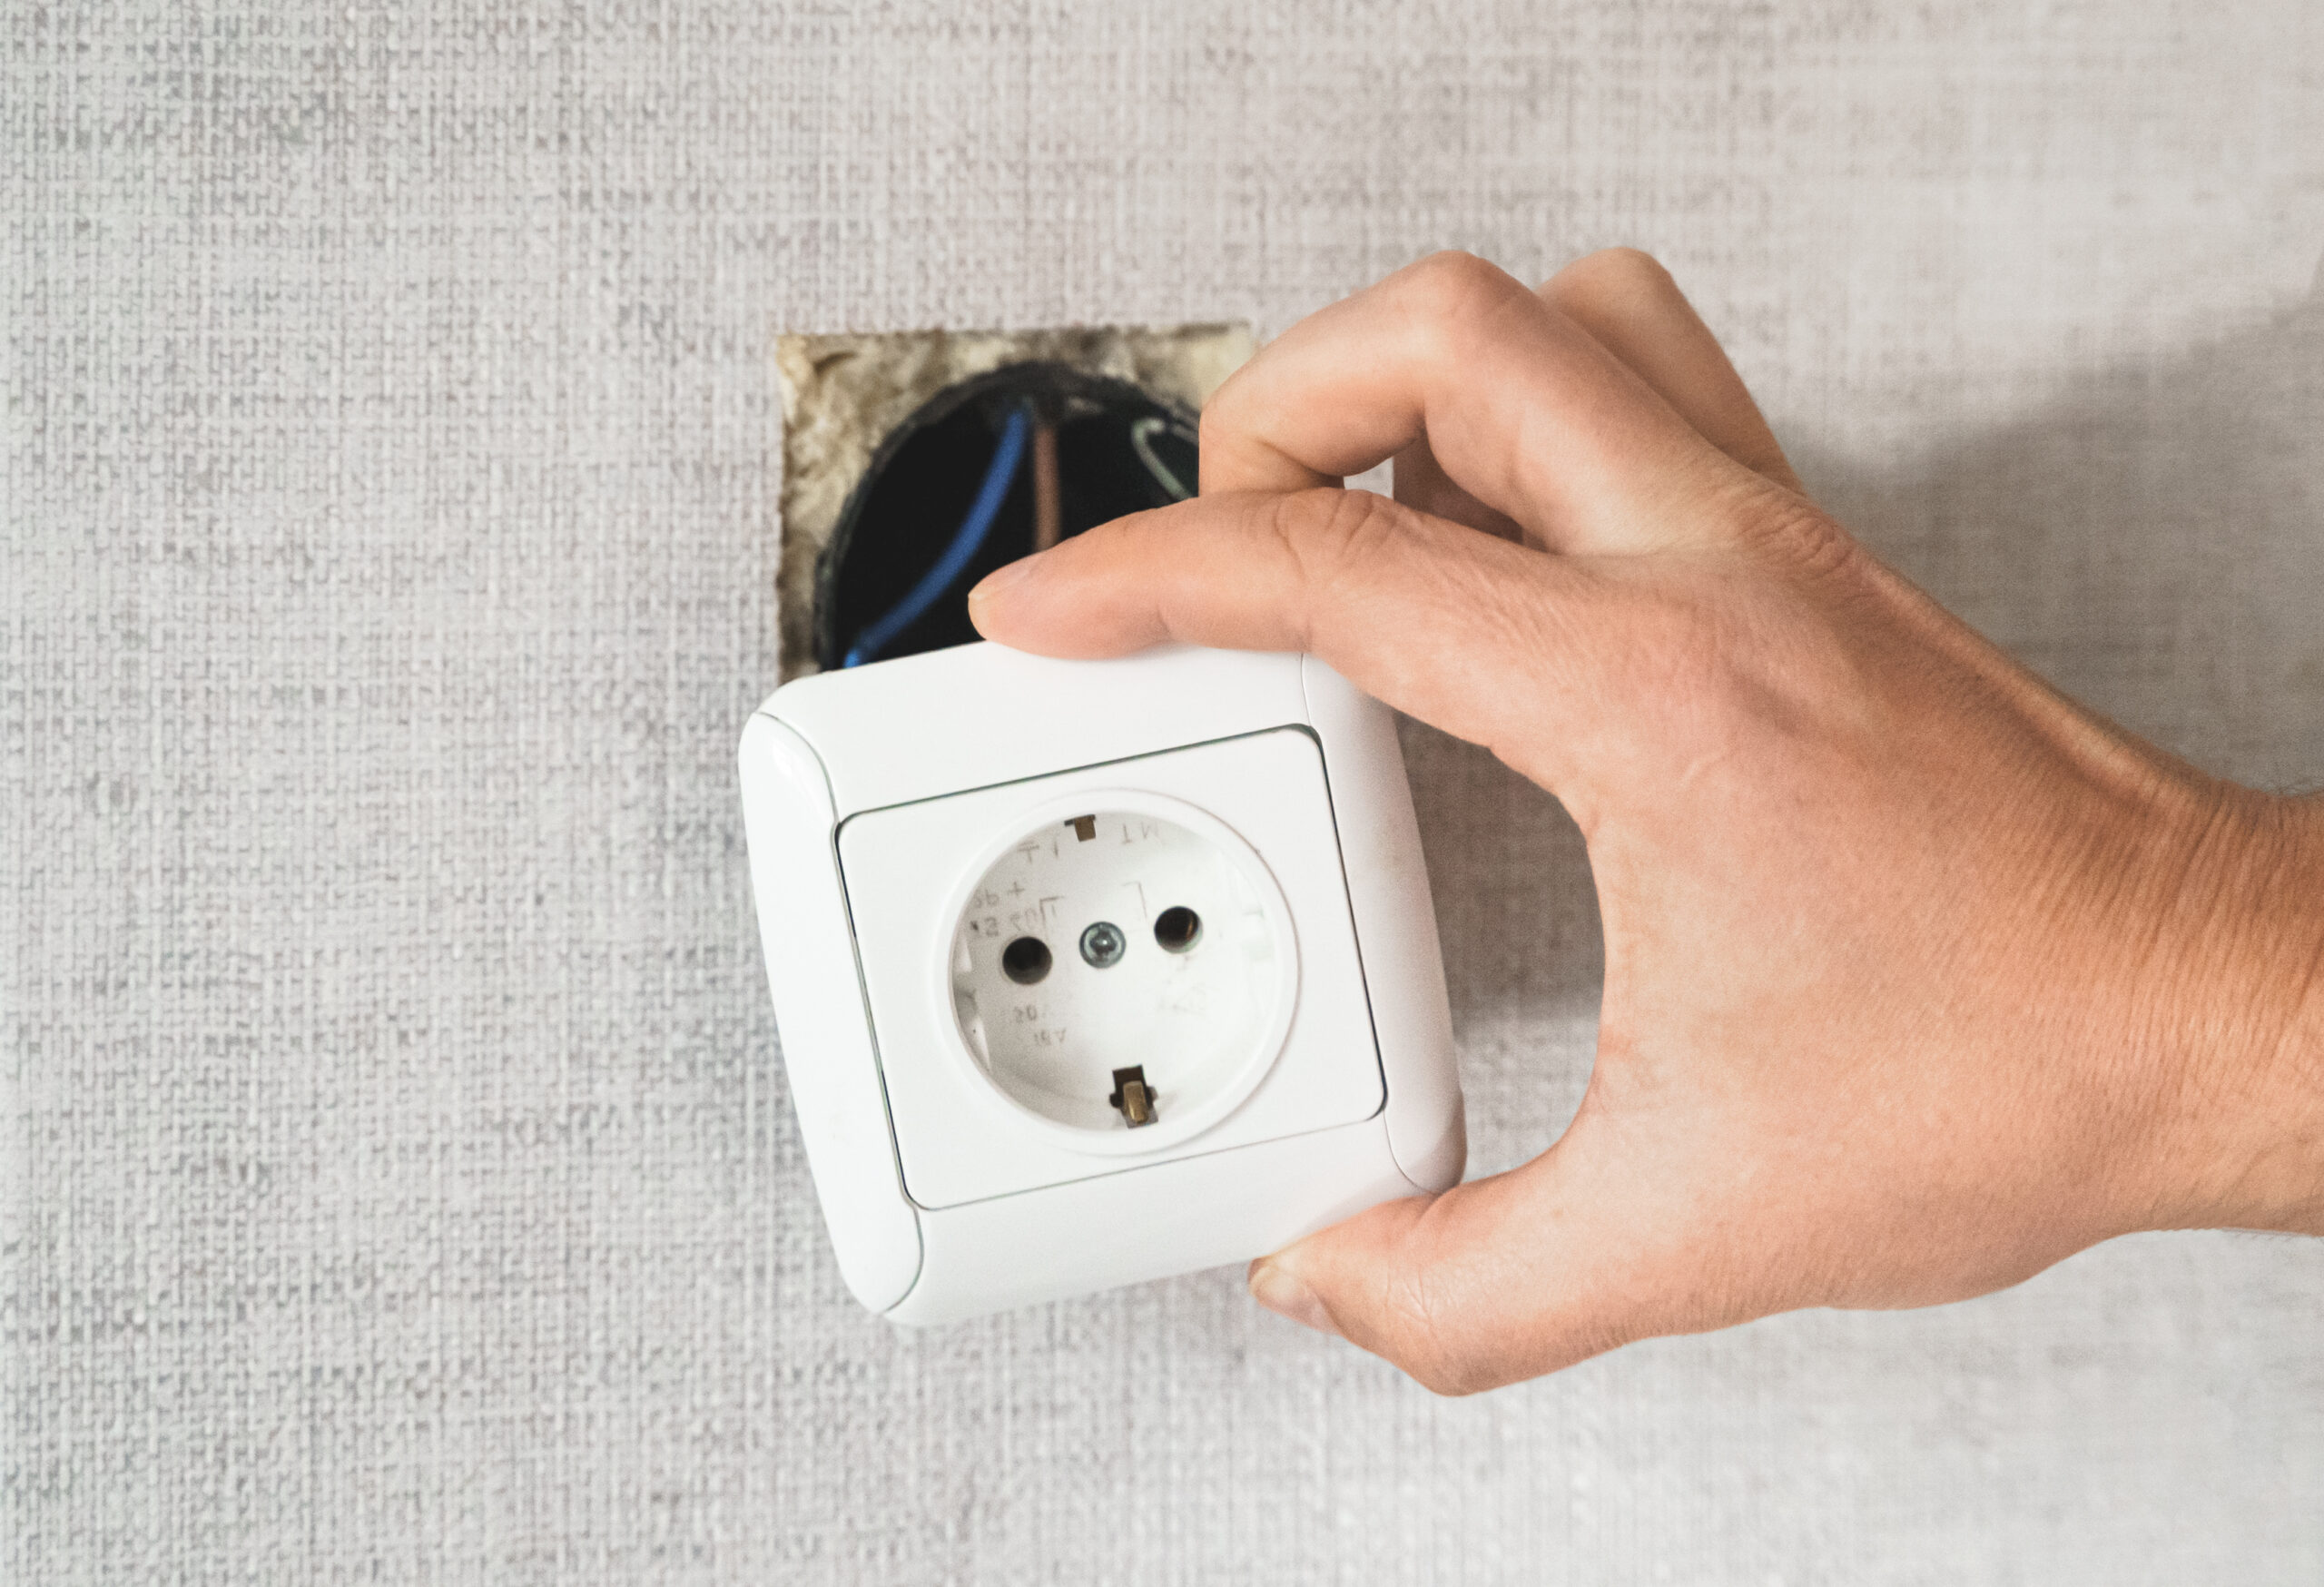
Carefully remove the panel cover and disconnect the wires attached to the faulty breaker. Unscrew the breaker from the panel and gently pull it out. Be cautious not to damage the surrounding components. - Installing the New Breaker:
Slide the new breaker into place and secure it by tightening the screws. Reconnect the wires, making sure they are correctly attached. Replace the panel cover and ensure it is securely fastened. - Testing:
Turn the main power back on and test the newly installed breaker using a voltage tester. Check the surrounding areas for any signs of overheating or issues. If everything appears normal, your replacement was successful. - When in Doubt, Call the Experts:
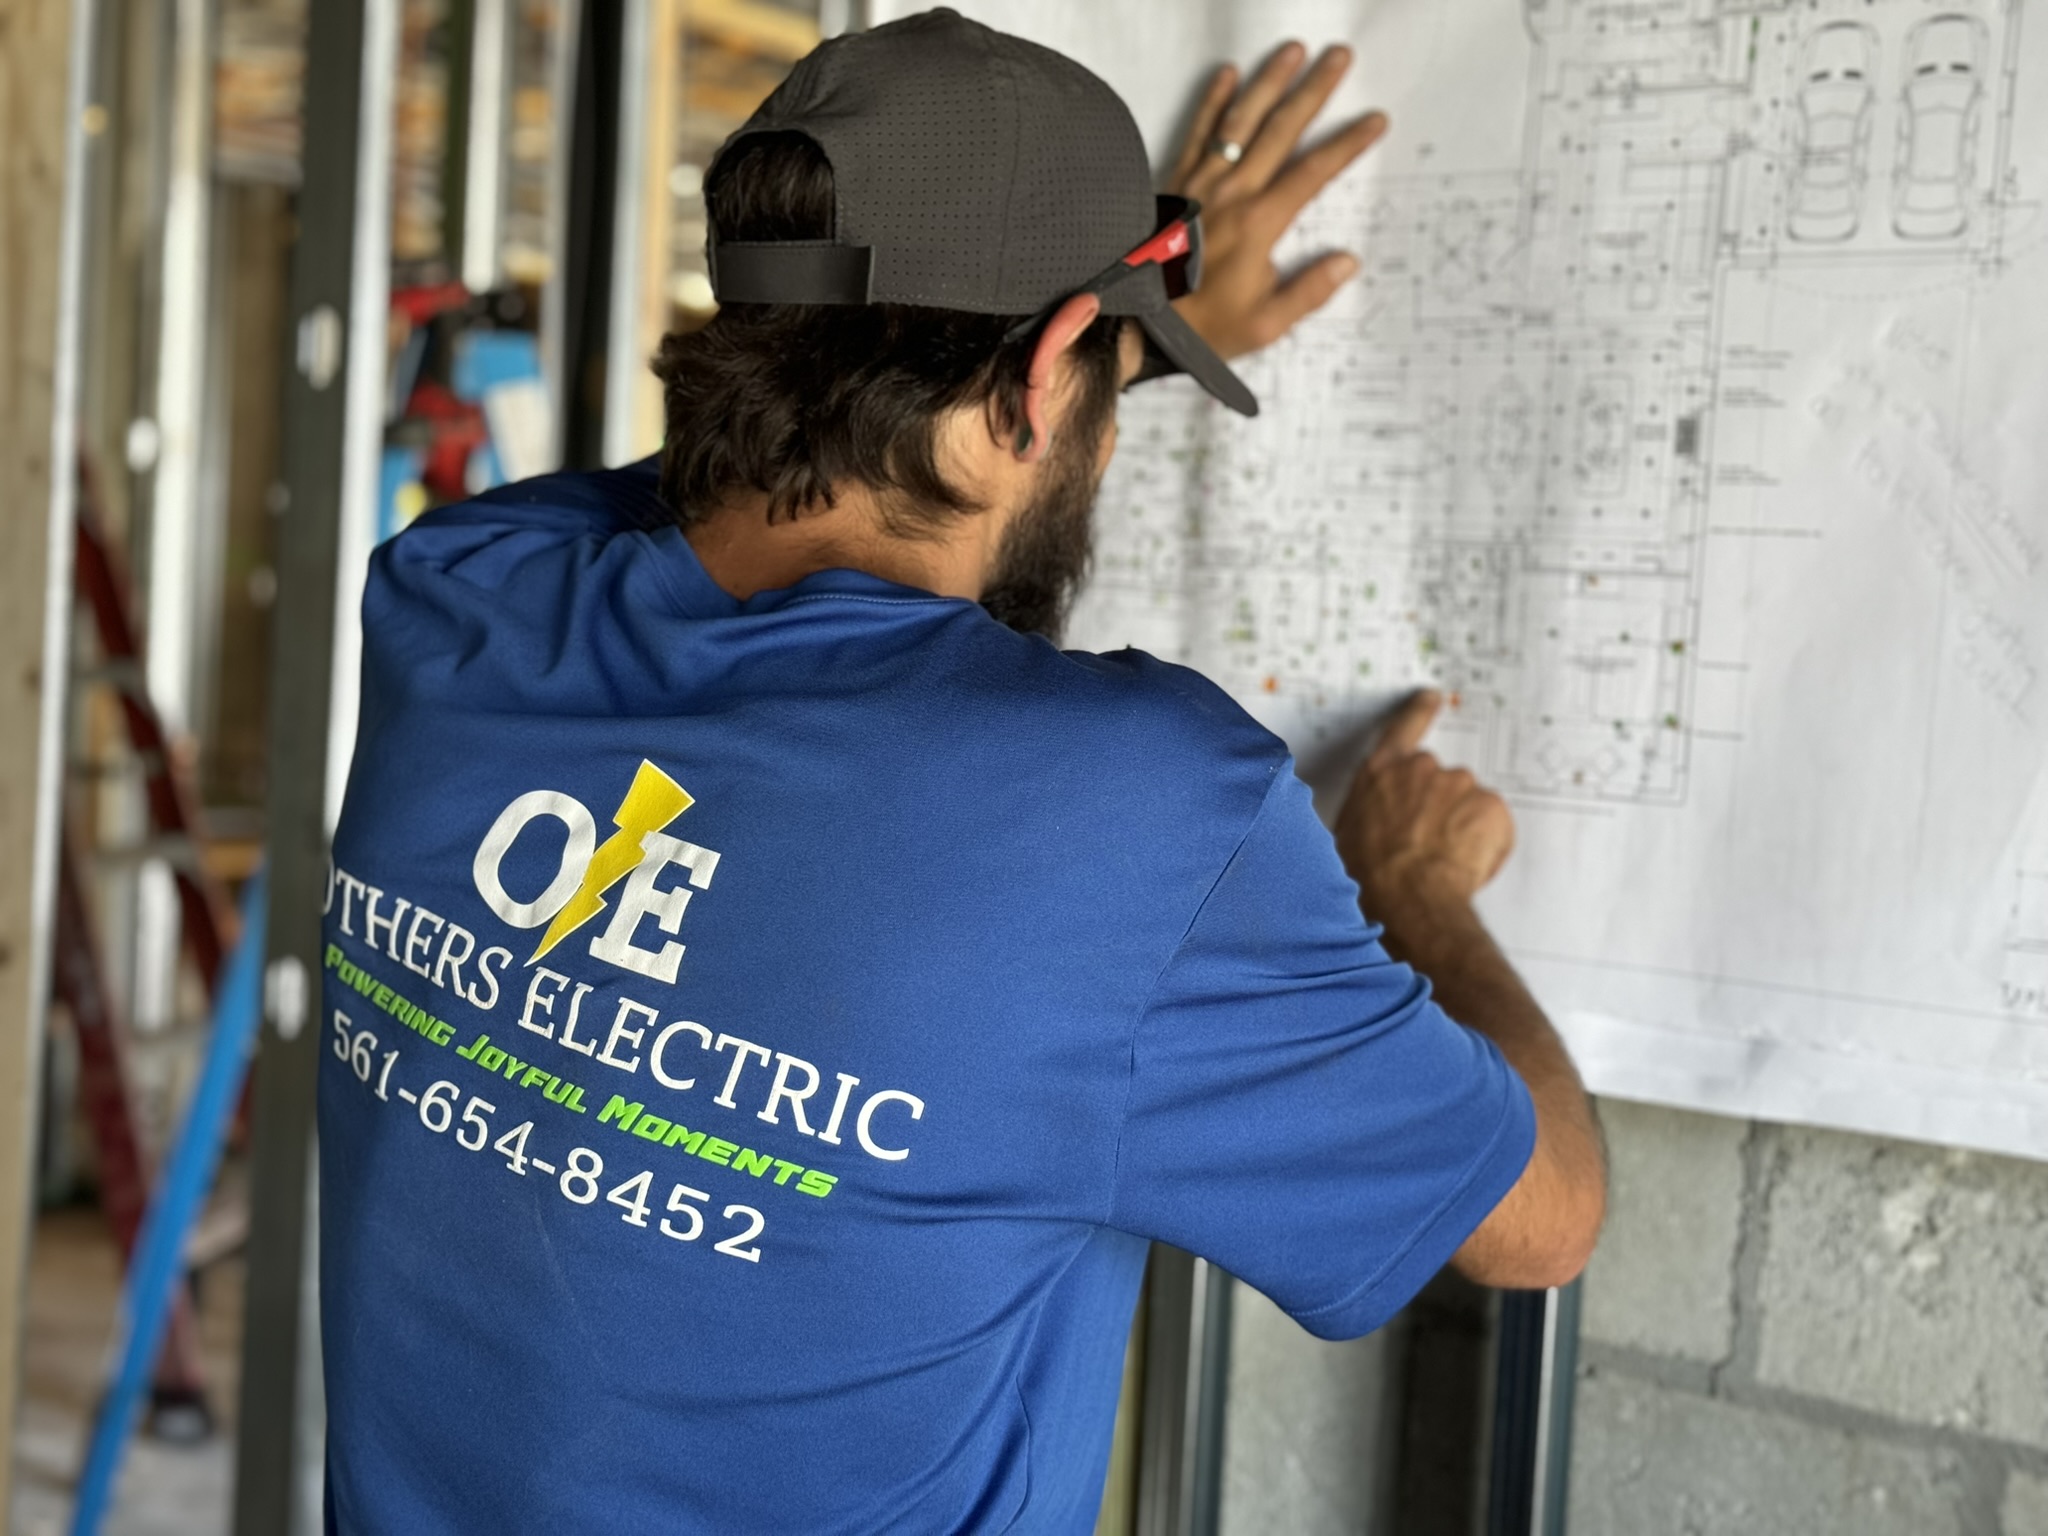
If you ever feel nervous or encounter any complications during the process, do not hesitate to call the professionals at Others Electric Inc. Electrical work can be hazardous, and their experienced team is ready to provide assistance and ensure the job is done safely and efficiently.
Conclusion
While replacing electrical breakers can be a DIY project, safety should always be prioritized. If you ever feel uneasy or encounter challenges, don’t hesitate to contact Others Electric Inc for expert assistance. Remember, it’s better to be cautious and seek professional help when needed to ensure the well-being of yourself and your property.